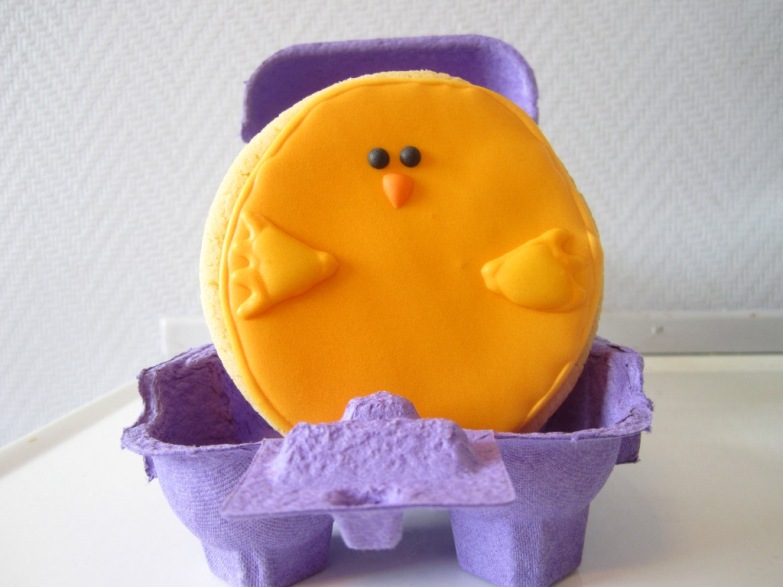
For a long, looooong time, I’ve been contemplating trying my hand at sugar cookies with royal icing. And for some reason, I’ve always found it very intimidating. Maybe it’s because growing up, my Mum and I decorated sugar cookies with a watered down version of royal icing that made any sort of intricate design difficult. Maybe it’s the fact that all the royal icing recipes I’ve looked at call for meringue powder, and I immediately become tense at the mention of my arch-nemesis and kryptonite (seriously, I have never been able to make a proper meringue). For whatever reason, it’s been one of those baking endeavors I’ve just been putting off. But lately I’ve seen soooooooo many beautiful blog entries with decorated sugar cookies that I just couldn’t resist finally trying it. So armed with my one cookie cutter (that’s not even a cookie cutter, but really a biscuit cutter) I set about making some festive spring chicks!
Spring Chick Cookies
Yields about 2 dozen cookies
Ingredients:
For the sugar cookies:
1 cup vegetable shortening
1 1/2 cup granulated sugar
1 egg
2 tsp. vanilla extract
2 1/2 cups all purpose flour
2 tsp. baking powder
For the royal icing:
4 tbsp. meringue powder or powdered egg whites
1/2 cup luke-warm water
500 grams (just over 1 lb.) powdered sugar
Food coloring gel in yellow, orange, and black
As a note before you get started, this whole process is best accomplished over the space of several days. I worked by making my cookies day one, putting a base coating of royal icing on day two, and adding the detail on day three. Of course, if you don’t have that kind of time, make sure to at least let the cookies cool before icing, and give the first coat of icing overnight to harden before adding any detail. Also, make sure you use small tips when adding the wings, eyes, and feet. I used disposable plastic bags so I clipped a very small amount off the end, but I cannot stress enough that this is delicate work that requires small tips.
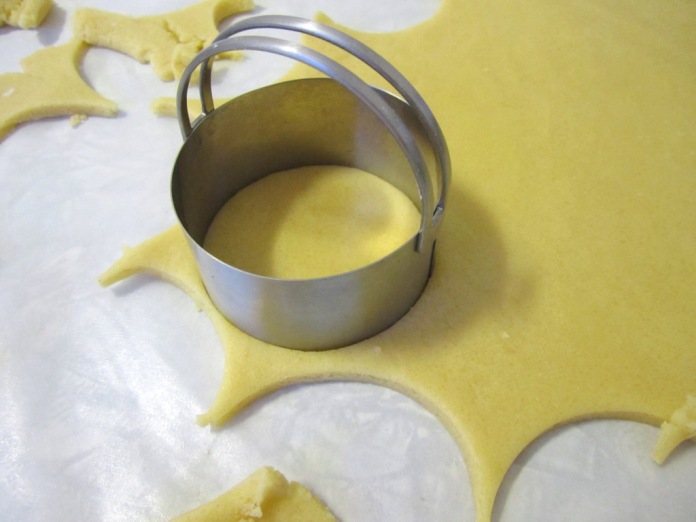
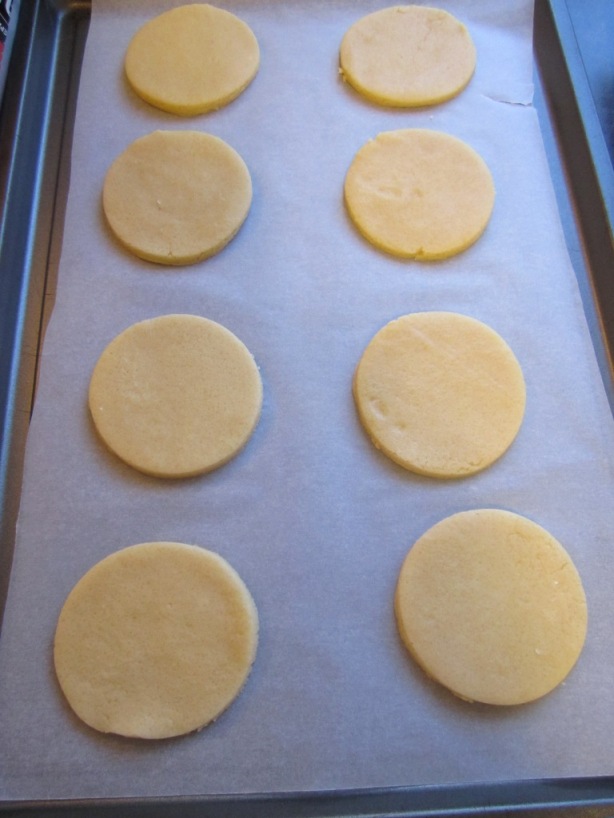
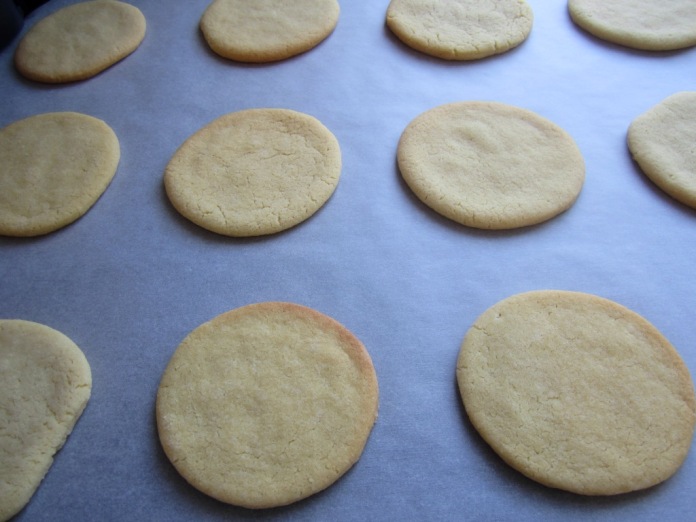
To start, preheat your oven to 400* Fahrenheit (205* Celsius) and line your baking sheets with parchment paper. In a large bowl, cream the vegetable shortening and add the granulated sugar, mixing until it is well incorporated. Add the egg, vanilla extract, and baking powder and mix until there are no lumps of any kind. In several increments, add the flour, mixing between each new addition, until the dough is dry enough to be handled but not so dry as to fall apart. I like to test my dough by taking pinch a small amount of it between my fingers; if it pulls away leaving my fingers clean then it’s ready, if not, add some more flour. Once the dough is ready, roll it out onto a lightly floured surface until it’s about a 1/4 of an inch thick. Using a round cookie cutter, cut the dough and set the cookies on the lined baking sheets, about 6-8 to a sheet. Bake in the oven for 7-8 minutes, or until the cookies are starting to brown on the bottoms. Remove from the oven and set aside to cool.
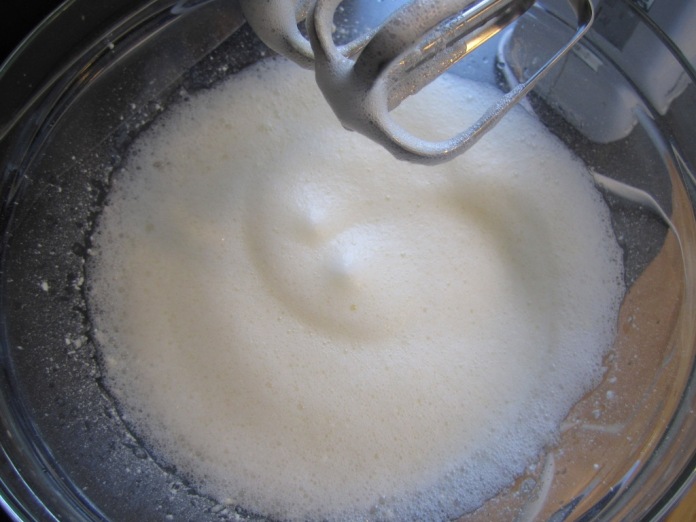
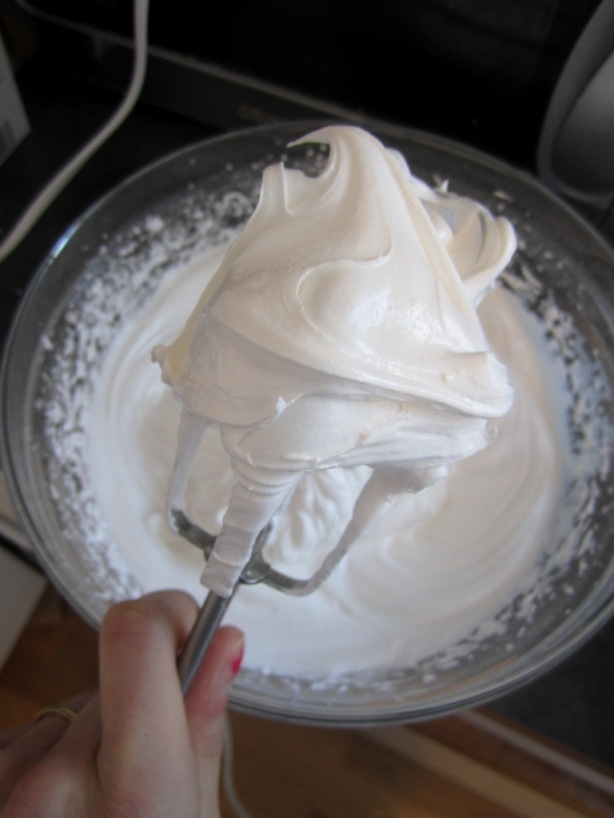
To make the royal icing, whisk together the warm water and meringue powder/powdered egg whites in a large bowl. Make sure the bowl is clean with no traces of oil as this can keep the royal icing from reaching stiff peaks. Once the mixture is frothy, add the powdered sugar and beat on high until stiff peaks form (about 5-8 minutes).
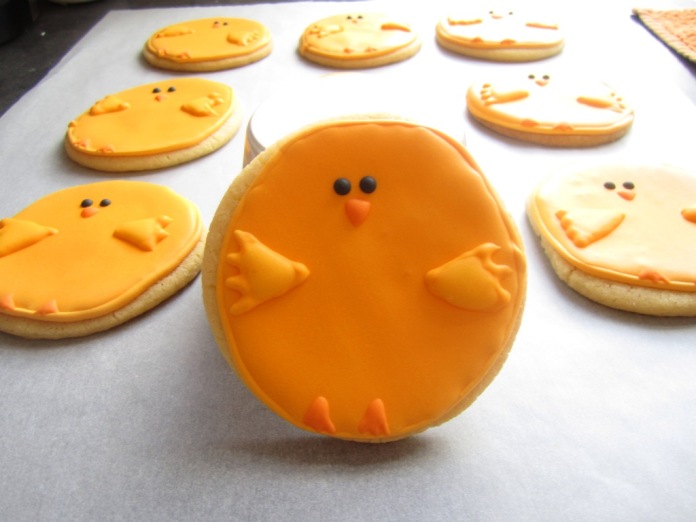
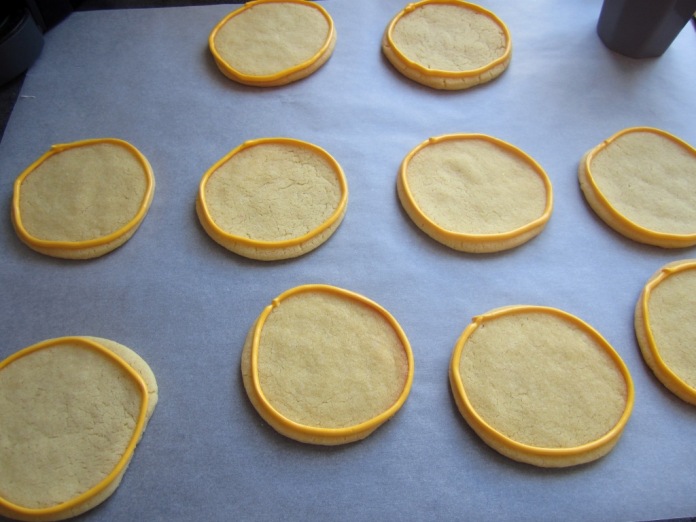
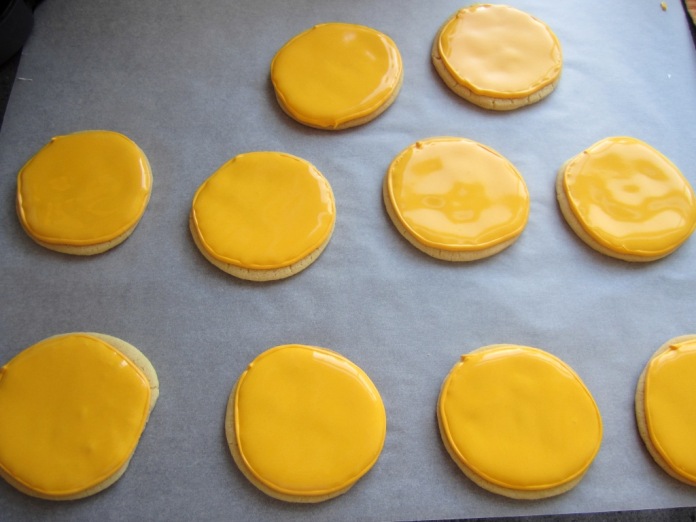
For the chick cookies, you’re going to need 3 colors of icing the majority of which will need to be yellow. Spoon one heaping tablespoon of icing into two small bowls (that’s one tablespoon per bowl), cover with plastic wrap pressed down against the surface of the frosting and set aside. Take the remainder of the frosting and add yellow food coloring gel to it until the desired shade of yellow is reached. Using a teaspoon of water at a time, thin the icing to a piping consistency. While there are a number of schools of thought on consistencies for royal icing, I like my piping icing to stay relatively thick. Therefore, I use a 20 second rule for my piping icing (if you scoop up some icing and drop it back into the rest, it should take approximately 20 seconds to be completely re-absorbed). Once the icing is the right consistency, spoon 2-3 heaping tablespoons into a disposable piping bag. Continue to thin the rest of the icing until it reaches a flood consistency. I like to use a 10 second rule for my flood icing but you can easily thin it further if you would prefer. Spoon the flood icing into another piping bag and get ready to pipe! Starting with the piping icing, pipe around the edge of the cookies, as far out as possible. This piping icing is going to act as a barrier to keep the flood icing from spilling over. Once the cookies have been bordered with the piping icing, fill in the center with the flood icing. Be generous with the flood icing as this will help to even out the tops of the cookies (to little and you could end up with divots). Use a toothpick to drag icing into any spots that haven’t been sufficiently filled, and set aside the cookies to dry. Be sure to cover all leftover icing and refrigerate it while you wait. The cookies should be allowed to dry at least overnight.
Once the initial layer of icing has dried, it’s time to add some detail. Using the leftover yellow piping icing, make some wings about halfway down the cookies, and fill with the remaining yellow flood icing. While the icing dries, take the two small bowls of icing and color one orange and one black. Thin the icing to a 20 second consistency, and spoon into disposable piping bags. With the orange icing, pipe two small 3-pronged feet, and a small triangular beak on each cookie. After you’ve done that, you can go back and pipe small eyes using the black icing. Set aside to dry for at least several hours before packaging.
Happy baking!
Sources:
Cookie recipe adapted from The Sweet Adventures of Sugarbelle
Royal icing recipe slightly adapted from Bake at 350


These are too cute!!! Absolutely love them
Thank you! 😀
These are adorable and they look great for your first try!!
Thank you! It definitely was a learning experience! 🙂
How creative and cute!!! Way to overcome
a few limitations in the form of equipment and all. I love the bright colors and detailing 🙂
Thank you! I still feel like I’m working the kinks out of my technique but I’m getting there. 🙂